|
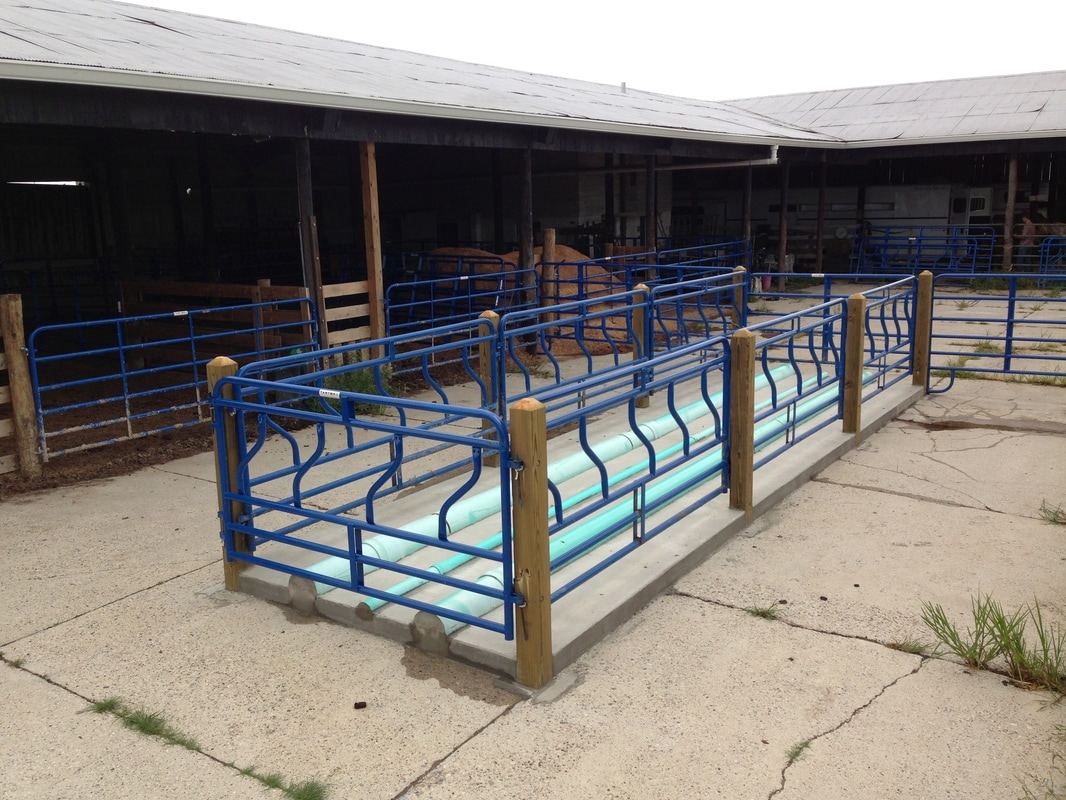
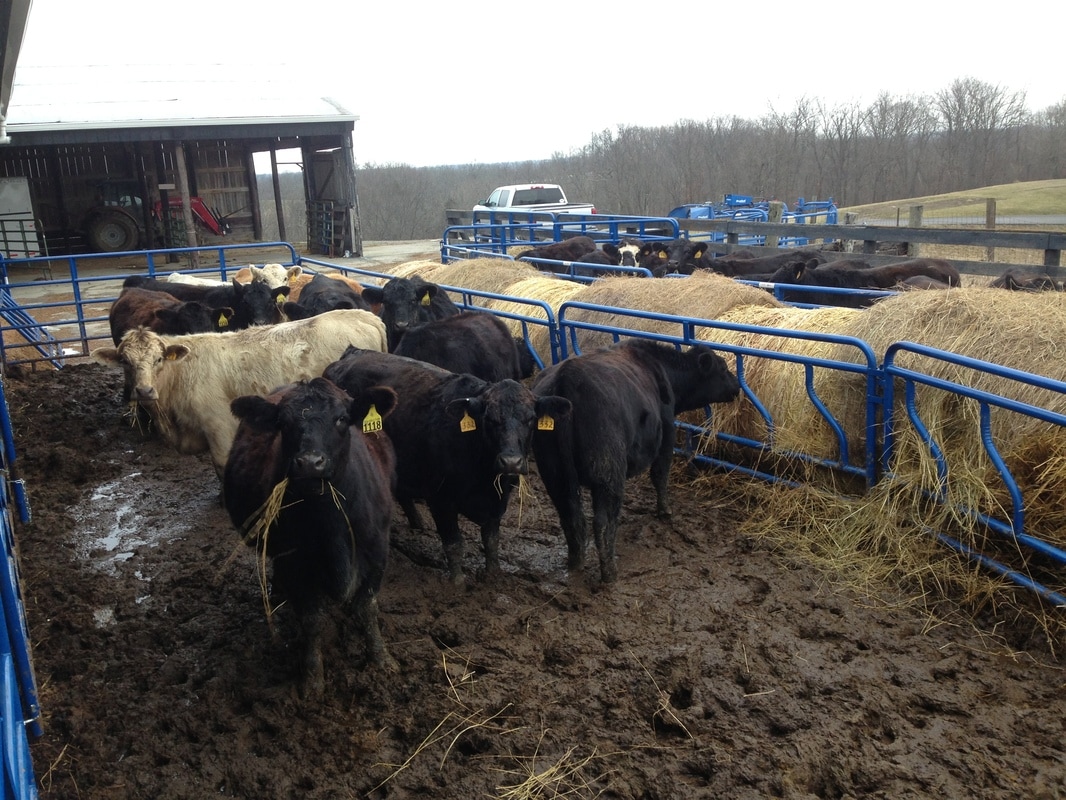
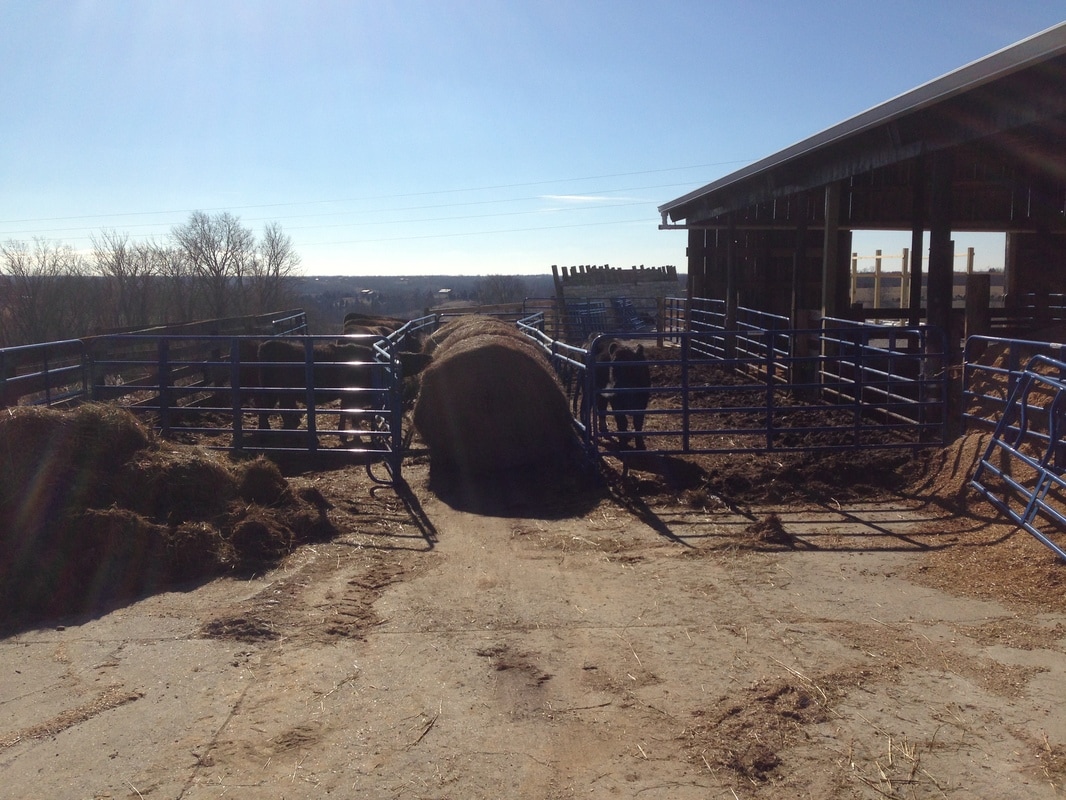
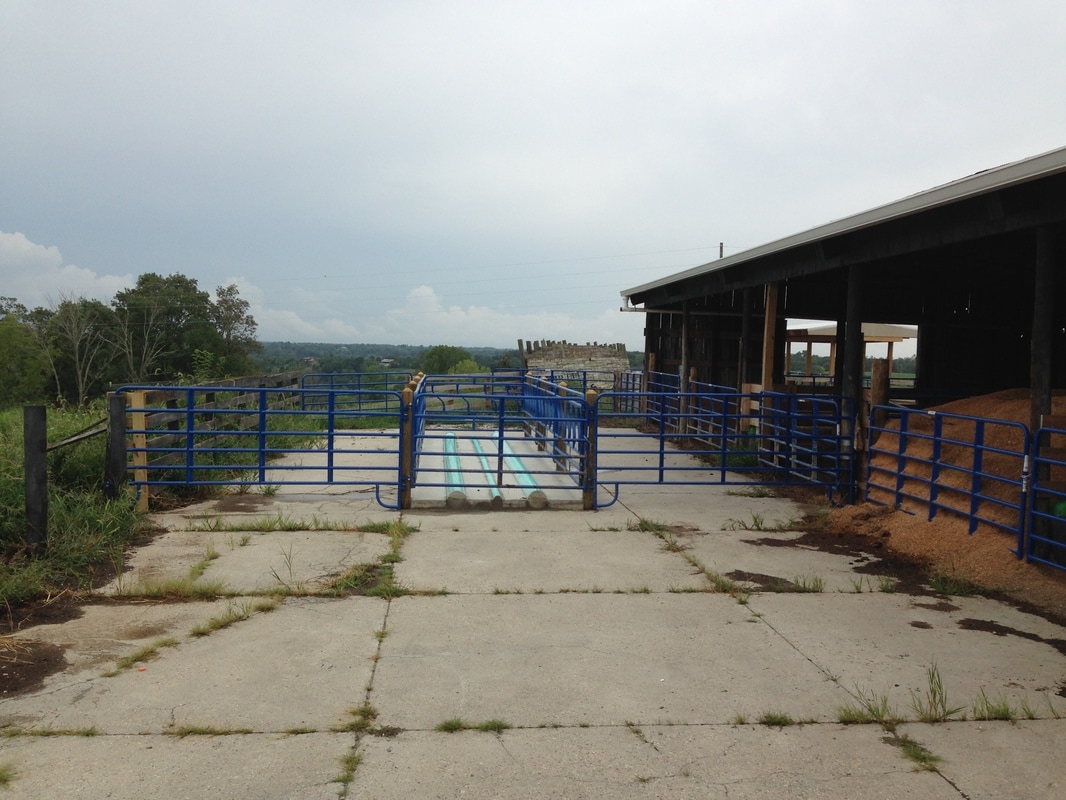
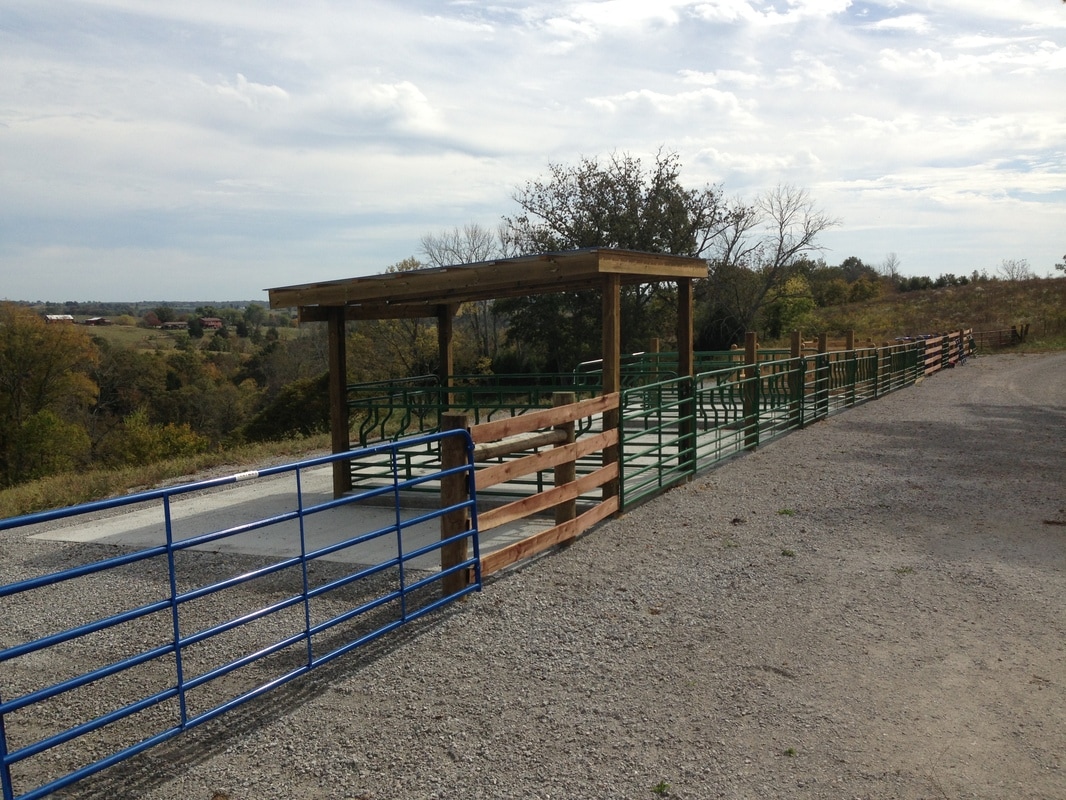
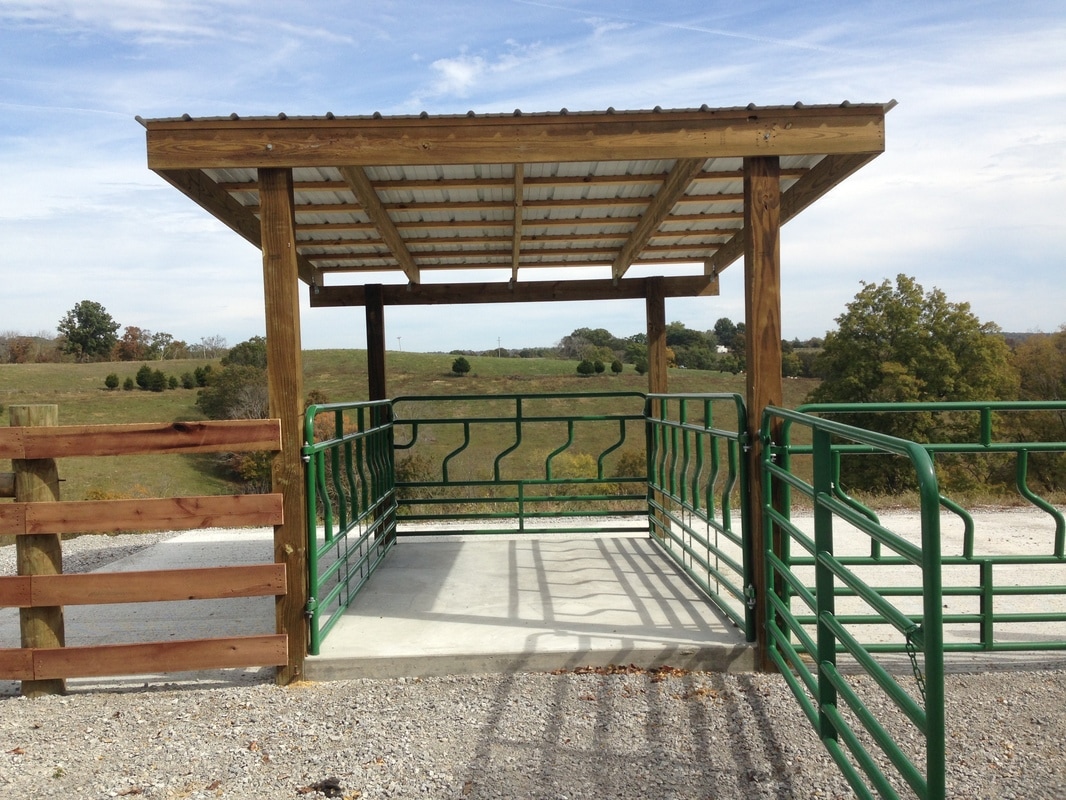
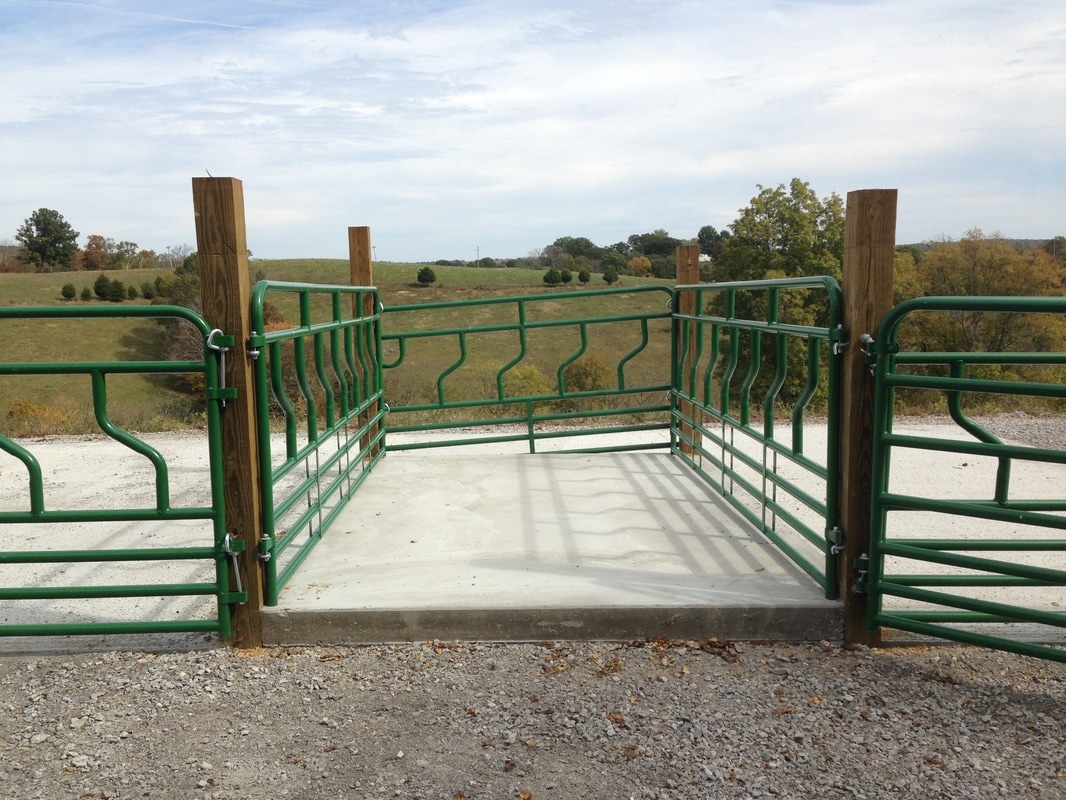
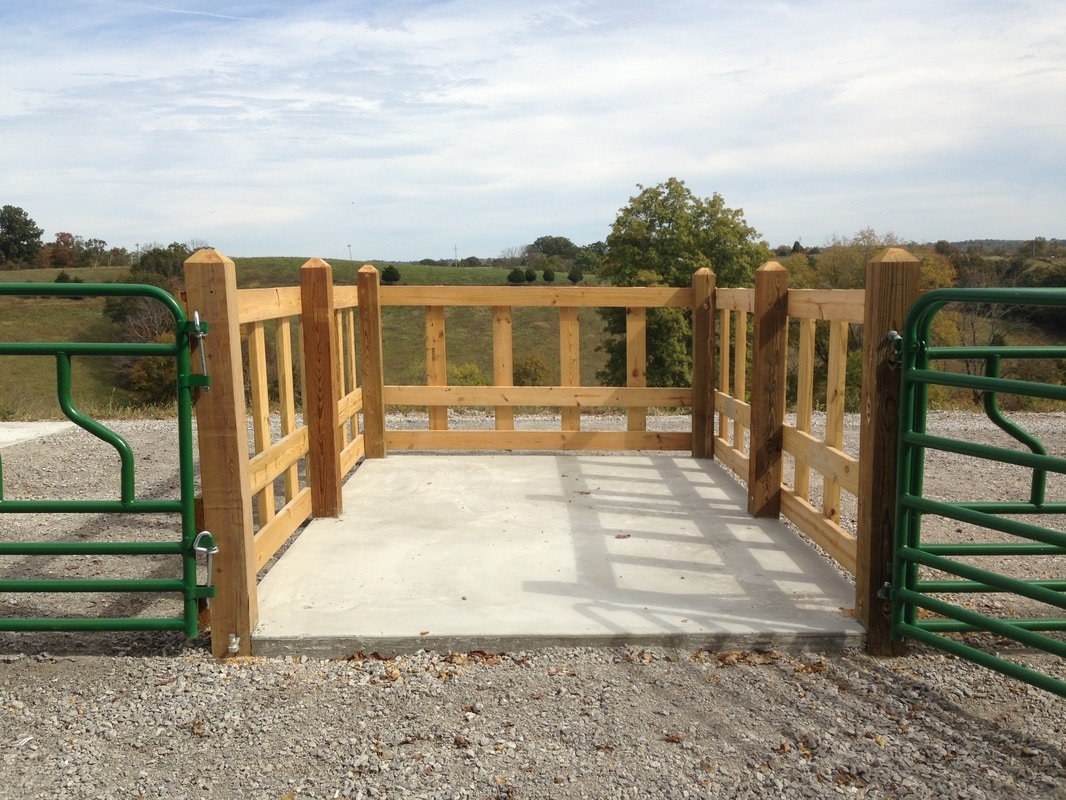
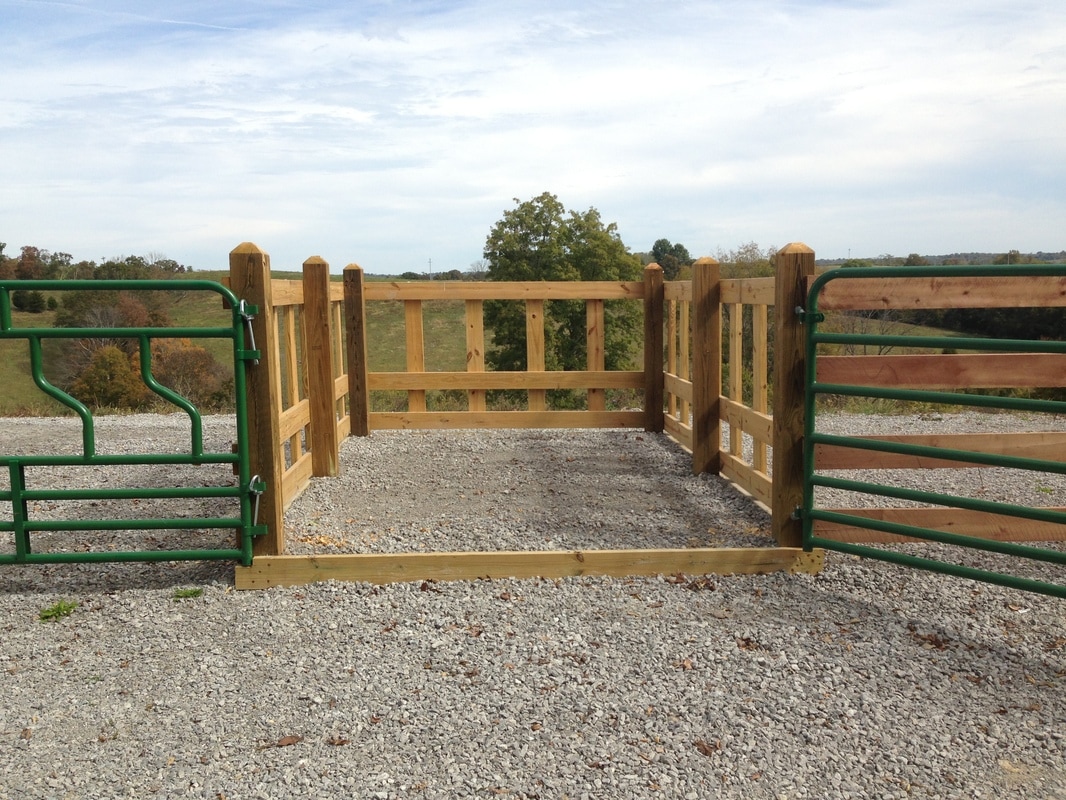
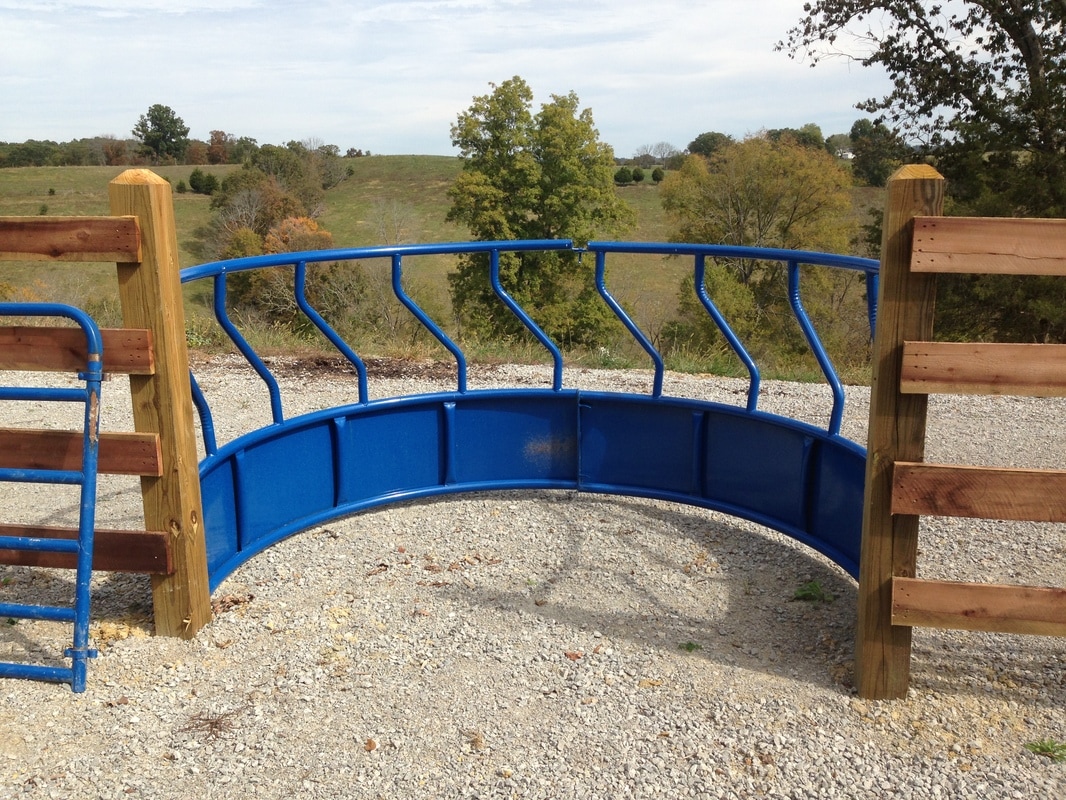
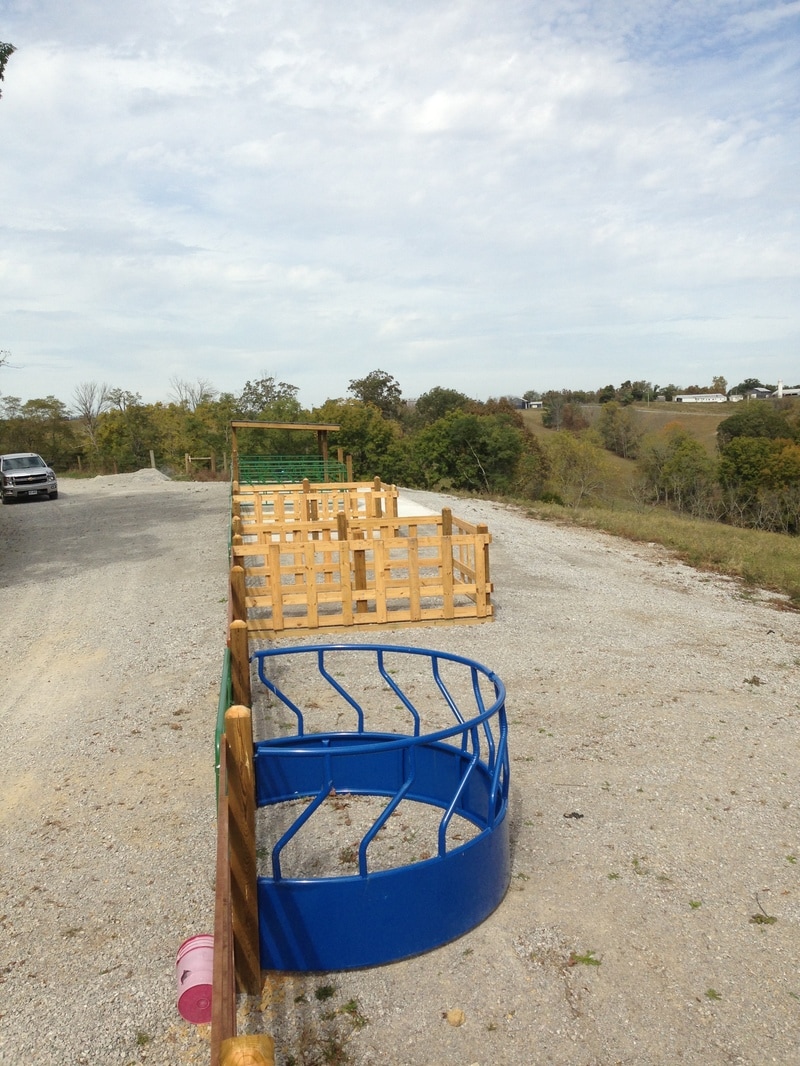
Our cows are bred to start calving March 1st. That means that the early ones could start hitting the ground any time. We have been spending time lately getting the calving barn cleaned and ready for the new arrivals. Calving season also means that all the cows will be pulled up close to the facilities and we can finally start using the new hay feeding structures that were installed last summer. This structure is located at the calving barn. This is where 20 of the first calf heifers will be calving. We used a similar hay feeding structure here last year, but it was built out of temporary panels. Now this is a permanent structure and should waste less hay as the cows wont be able to push the panels around, and the center is raised 6 inches to keep the wet slop on the ground from contaminating the hay. Here is the temporary setup we used last year. As you can see, the cattle pushed the panels around and we did lose some hay to trampling and moisture. The permanent structure should prove to be a much better choice. The mature cow herd will be calving through our main working facility. Once the cows have calved and get turned out to a larger pasture, they will be eating hay at the new fenceline feeding system. This will be the first time that we have used this structure and I am very interested to see how it functions with the majority of the herd utilizing it at the same time. The system uses 5 different designed feeders side by side so that we can compare and contrast the efficiencies of each design simultaneously. The first feeder has a concrete apron for the cattle to stand on, as well as a monosloped roof. It was the most expensive feeder of the five different designs, and we anticipate this to be the cattle's favorite feeder. The second feeder is identical to the first one other than it does not have a roof on it. For the third feeder, we switched from the pre-fab feeder panels to homemade wood panels. Also, for the flooring around this feeder we used the geogrid that is backfilled with gravel to provide a stable footing for the cattle. The next feeder we removed the concrete from the center of the feeder. The apron around this feeder is just geotextile fabric and gravel. We did not use the interlocking geogrid on this design. It is hard to tell in this picture, but the gravel inside the feeder where the bales will sit is raised 6 inches just like the concrete feeders above. For the last design, we used 2/3 of a traditional hay ring and placed it inline with the other feeders. The apron around this feeder is also geotextile fabric and gravel. This is the easiest and cheapest design, but we anticipate that it will have the highest amount of hay waste. Also, this design can only accommodate one bale at a time and all the others are designed to hold two bales at a time. If you are interested in this fenceline feeding system and would like to know more information about them, please mark your calendars for two upcoming field days. April 6th we will be hosting a field day talking about the five different designs, sight selection, instillation procedures, and we will have cattle actively using them so you can see how each one is functioning. That day we will also have Matt Springer (UK Wildlife Extension Specialist, https://www.facebook.com/UKWildlifeExtension/) talking about how to manage black buzzard populations on your farm.
On May 9th, we will have a follow up field day about the fenceline feeding system that will summarize how each feeder performed. We will report which design the cattle preferred, which design was the most efficient at saving hay, providing clean footing, etc. We will also record how many hay bales were fed through each design so you can visually compare which structures held up the best, and which ones require maintenance. Please check back for more information about the field days once they get closer. Until then, I hope everyone's calving season goes as smoothly as possible. |
Archives
June 2024
Categories
All
Welcome |
CONTACT US |
EMAIL SIGN UP |
|
Eden Shale Farm
245 Eden Shale Rd. Office: (859) 278-0899 Owenton, KY 40359 Fax: (859) 260-2060 © 2021 Kentucky Beef Network, LLC.. All rights reserved.
|
Receive our blog updates
|

 RSS Feed
