|
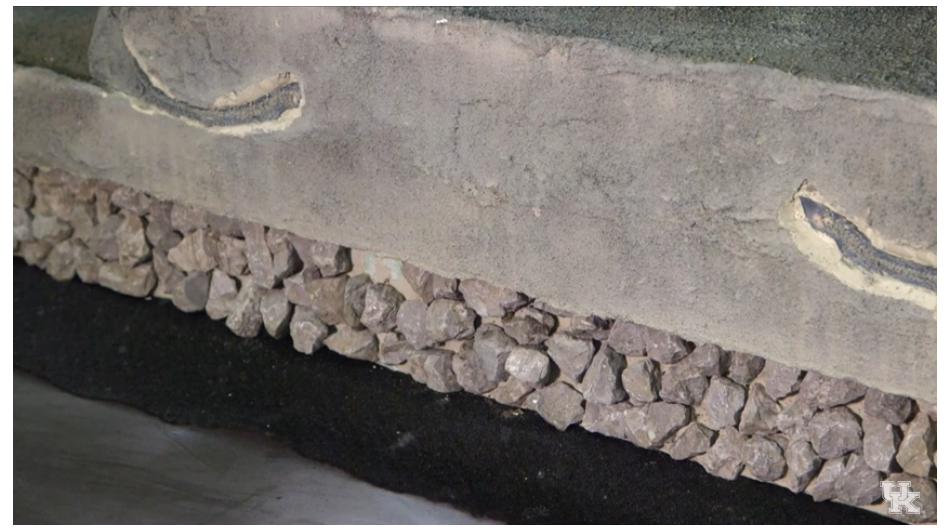
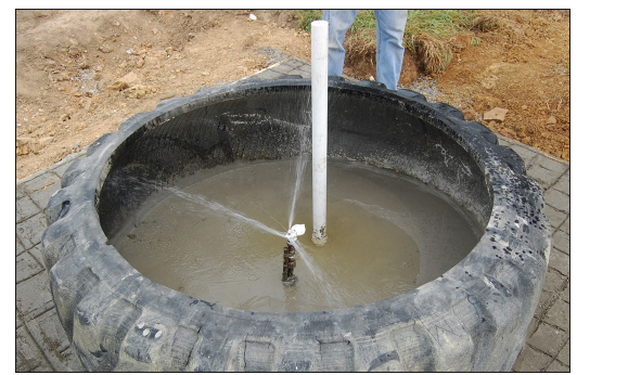
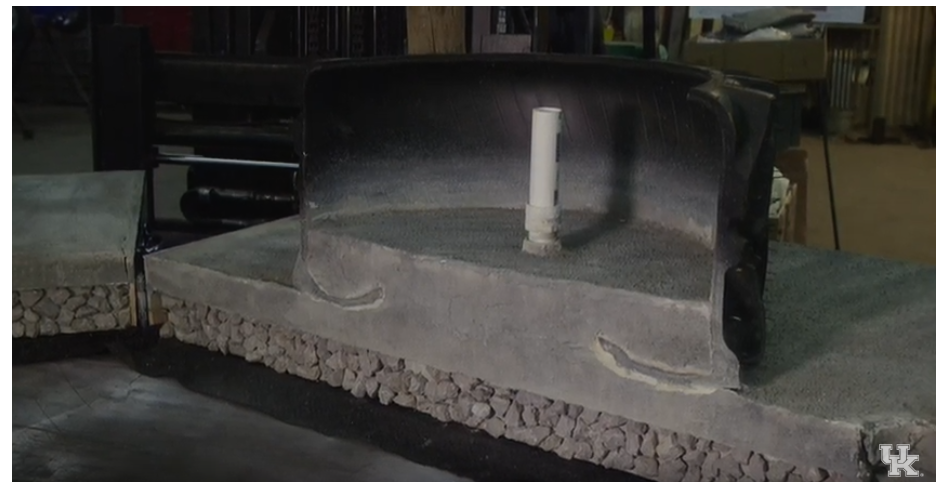
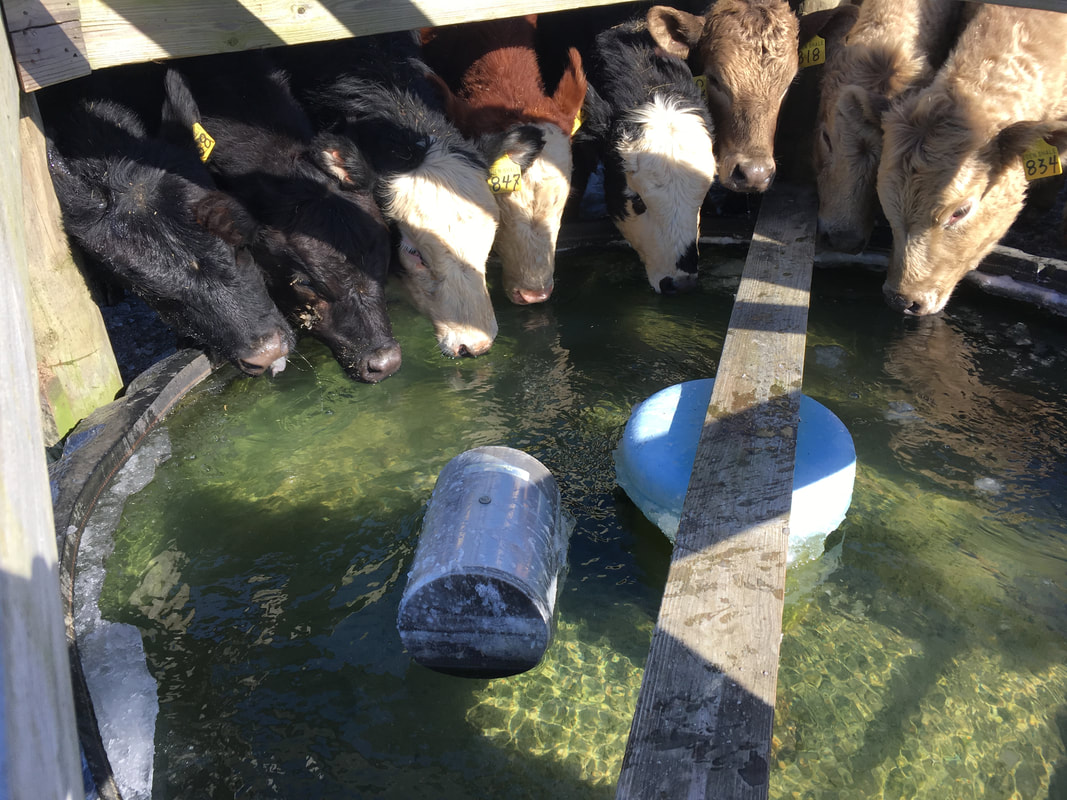
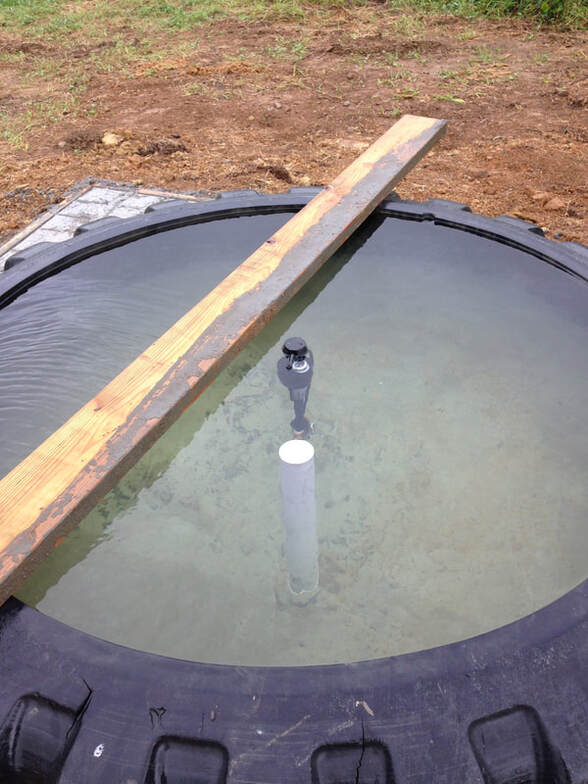
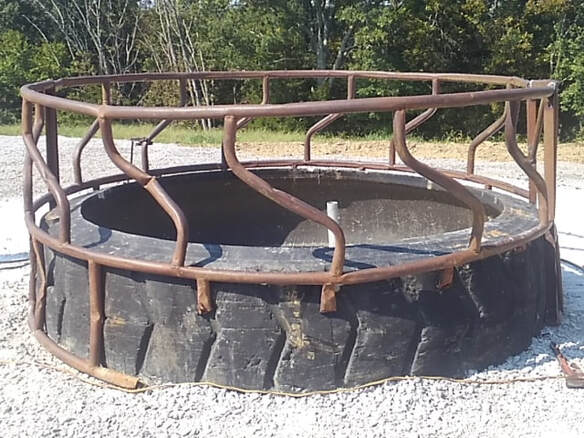
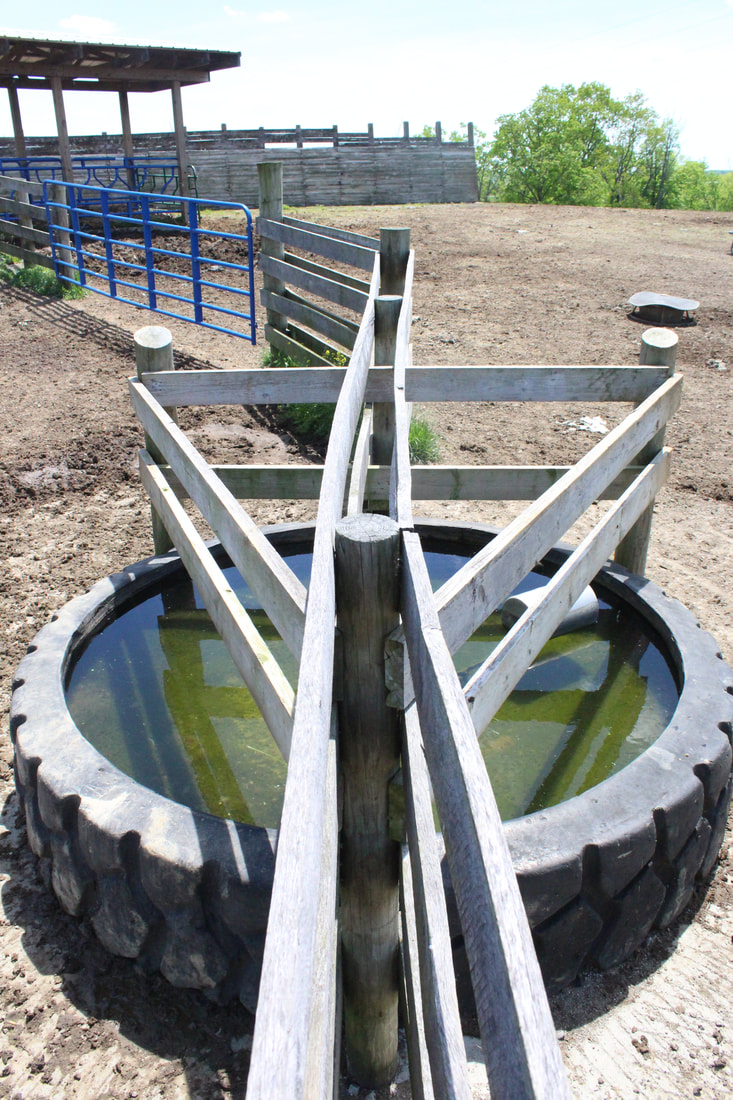
This week, we will be taking you through the steps to complete your tire waterer. Be sure to check out the University of Kentucky publication, at the bottom of this post, to view full details and information. Once you have cut and cleaned your tire (see part 1 for details), you are ready to prepare the ground where the tire will be installed. The ground should be leveled, free of vegetation, mud, manure, and other unsuitable foundation materials. The site should allow surface water to readily drain away from the tire tank. To prevent the formation of mud around the tire, consider installing a heavy traffic pad. That traffic pad should be large enough to support the entire length of a mature cow. The image below is a look inside the layers of a heavy traffic pad. The black layer is non-woven geotextile fabric. This goes on top of the compacted soil and provides a barrier between the soil and concrete. On top of the fabric, add a minimum 6 inches of compacted dense grade aggregate. The last layer will be your concrete. You want a minimum of 6 inches of 3500psi or 4500psi concrete on top of the aggregate. Be sure to score the concrete in a pattern to increase traction for your cattle. After clearing a site for your tire water, you can begin working on the plumbing. Prior to any digging, use the free service to check for underground utilities by calling "811". Full plumbing instructions are available for download in the University of Kentucky publication at the bottom of this post. Once your plumbing is set up, you are ready to place your tire on the site and begin pouring concrete inside the tire. When pouring the concrete, be sure to fill the inner rim of the tire tank. This is important to do to prevent leaks. Also make sure that the concrete is leveled to distribute water evenly in the tire. Here is an inside look of the tire waterer with the water pump in place. Notice how the inner rim of the tire is covered in concrete. Remember to allow the concrete to set for at least 48 hours. The final height of the inflow line should be 2-3 inches above the bottom of the inner rim of the tire. Place a cap or tape over the cut end of the pipe to prevent dirt or concrete from entering the inflow and drain lines. To automatically control the water level in the tire, use a float valve assembly. It will be necessary to fill the tire tank and adjust the length of the float's chain to ensure that the proper water level is maintained. Remember that periodic cleaning may be necessary to remove nutrients that can promote algae growth. Avoid using copper sulfate to control algae to prevent toxicity and metal corrosion. Once your tire waterer is ready for use, monitor your cattle to make sure they are not climbing in. If they are, you can use a cross member attached to the top of the tank to prevent them from getting in. You could also use an old hay ring similar to what is pictured below. For full details and information, click on the button below to download the University of Kentucky publication for tire waterers. Be sure to check back for part 3 of our tire waterers!
Comments are closed.
|
Archives
June 2024
Categories
All
Welcome |
CONTACT US |
EMAIL SIGN UP |
|
Eden Shale Farm
245 Eden Shale Rd. Office: (859) 278-0899 Owenton, KY 40359 Fax: (859) 260-2060 © 2021 Kentucky Beef Network, LLC.. All rights reserved.
|
Receive our blog updates
|

 RSS Feed
